Color Grade Breakdown

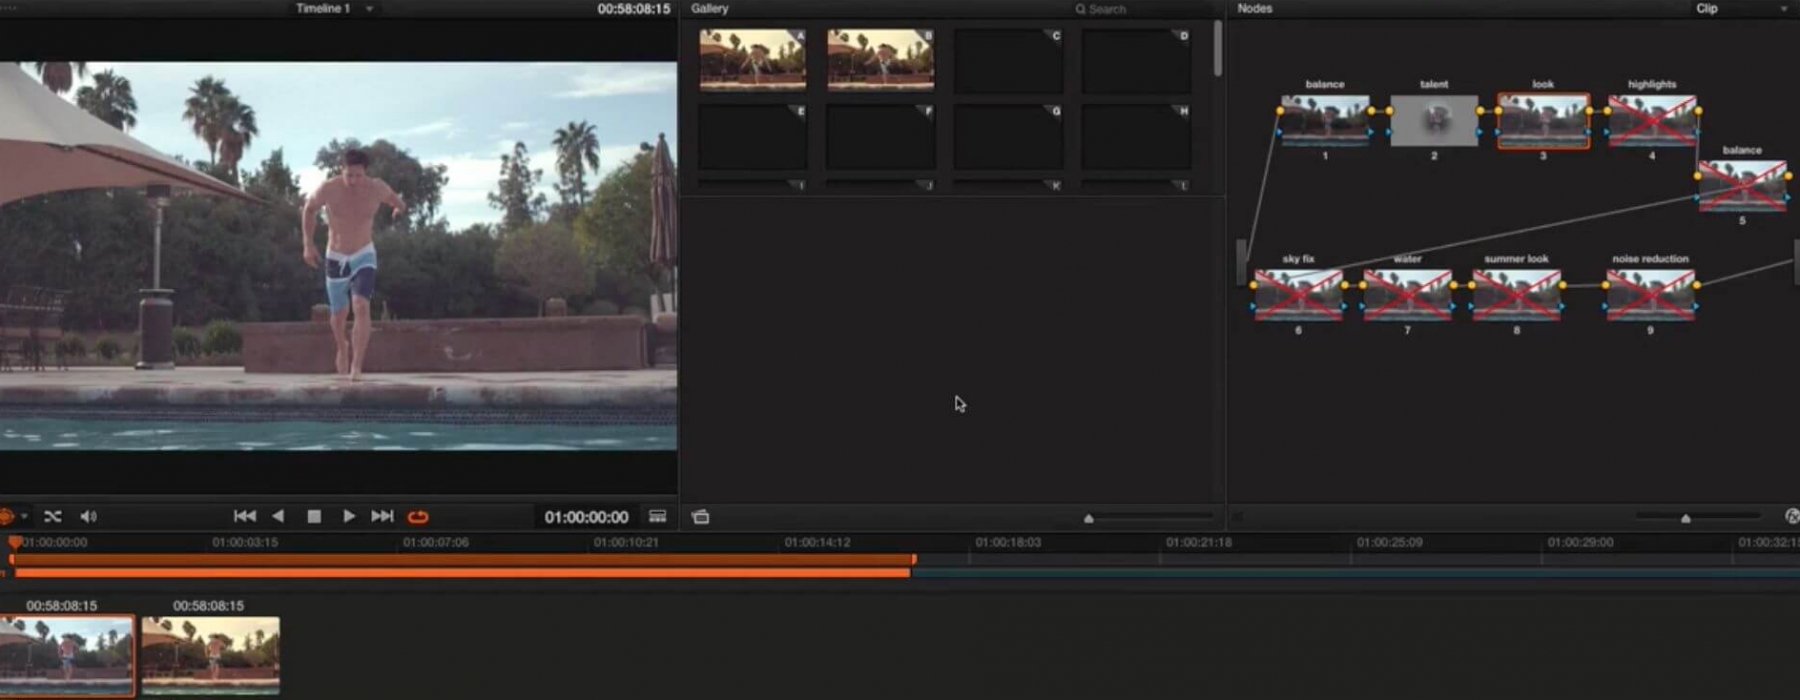
I recently had the pleasure to work with local photographer/director JJ Miller on a national broadcast campaign for Leslie Pools.  JJ managed to capture some really great moments and wanted to create a unique look that would make the commercial stand out from the pack.  We decided to go with an Instagram-like look that would help capture the nostalgic feel that the commercial was looking to capture.  This video breakdown shows the steps that we took and the reason for those creative decisions.

4 Comments

  1. Chris b

    Hey Rob

    Is there any reason you decided to go from a flat look, to contrast, back to flat, and again adding contrast in consecutive nodes, rather than just tweak the original contrast in the first node?

    Also, did the high speed clip come straight from the original red file or had it been exported out of the NLE?

    Best, chris

    Ps I would’ve gone for the summer look!!!

    Reply
    • Rob Bessette

      Hey Chris,

      I liked the summer look as well, which is why I left it in the breakdown!

      The clips that you see in this video are DPX files that are transcoded from the original RED footage. I believe the RED settings on the transcode were RedSpace and RedLogFilm. This was an older project and before Resolve’s heavy support for RED footage, so this allowed for better playback since I don’t have a RedRocket card.

      The reason why I added the contrast and flattened it out multiple times was as a failsafe in case the client changed their mind so I could quickly recall a look that was originally requested. Just a way that I like to work that slowly helps shape the footage.

      Thanks for the comment and happy coloring!

      Reply
      • Bruce

        Rob, as a Red Epic owner I think that the noise problems you had with this footage was because judging from the log image you began with, the footage was seriously underexposed. Even though the sky was exposed at maximum, the shadows were way underexposed. You did a nice job with the noise reduction, however, using HDRx on this shot might have made all the difference by punching up the second channel by two stops to recover the underexposed shadow areas.

        You can use HDRx by either under or over exposing that channel by up to 4 stops in either direction.

        Reply
        • Rob Bessette

          Hi Bruce,

          Thanks for the comment! The HDRx makes a ton of sense here and frankly, I didn’t think of it. Good call! I’ll be sure to remember it next time I face a similar situation. I do feel that the EPIC stuff gets quite noisy when it’s cranked and hopefully next time something like this happens I can minimize it.

          Reply

Post a Comment