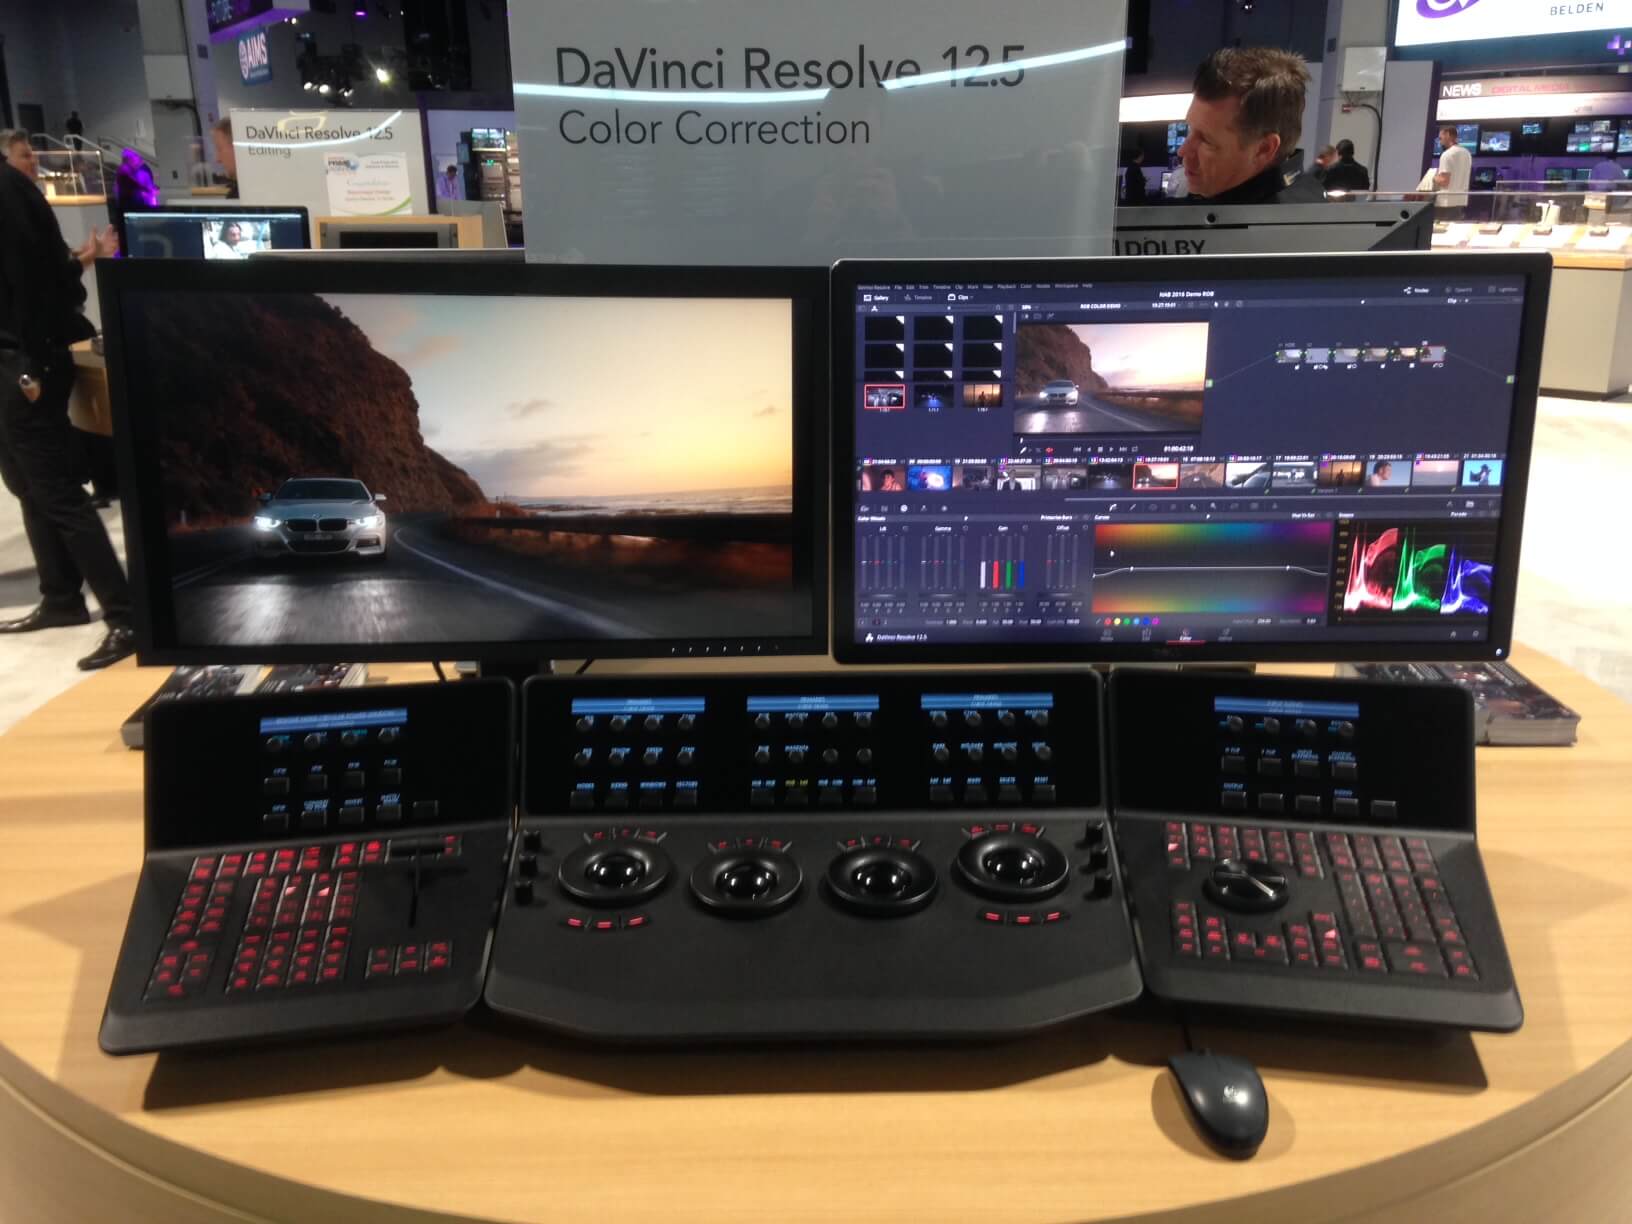
While working for Blackmagic Design as a demo artist during NAB 2016 I was able to get an insiders look at DaVinci Resolve 12.5. I was on the beta team before the show, so I had been able to toy with the new features a little bit, but I didn’t get to dig too deeply into them due to previous work commitments. Once I landed in Las Vegas, however, my focus was solely on learning the new features.
Upon new Resolve updates I have written blog postings about my favorite new creative features. Not functional or technical. Creative. I want to know what new and great things the software will enable me to make. If this were a more technical post, all the HDR additions would definitely be at the top of my list. The Blackmagic team did a great job incorporating HDR features that will enable us to work with this new and upcoming technology. It’s the next logical step in monitoring and I’ll definitely have to polish up on it and learn it a little better. But after testing the software extensively and discussing with several artists and technicians, I have a pretty good grasp on how to utilize my favorite new creative features in a fun and productive manner.
So lo and behold – my top 5 creative features for DaVinci Resolve 12.5…
IMPROVED NOISE REDUCTION
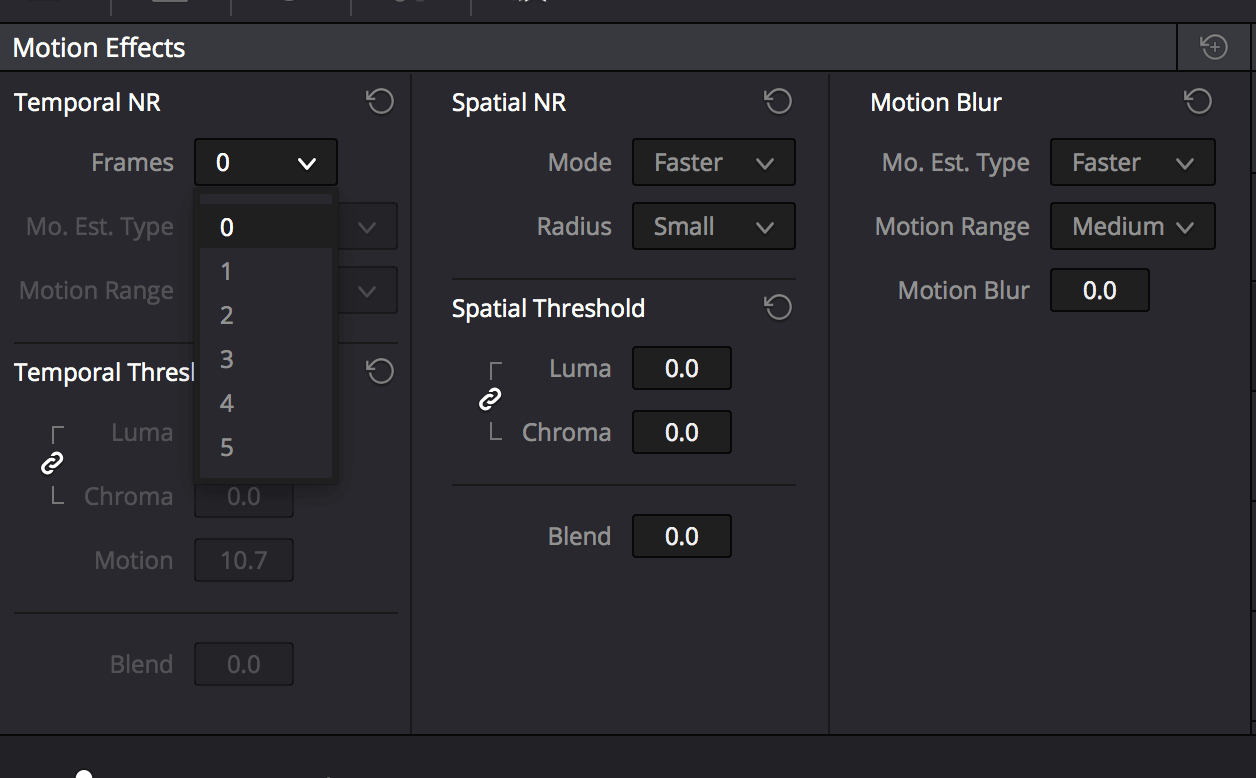
I was pretty excited about this one when I found out. In the past I have always used Temporal noise reduction. It’s was pretty much my go-to option when looking to clean up a little of chatter in the image. I felt like it always worked well and allowed for up to two frames of support. It was one of the stronger features in Resolve 12. So it was a nice unexpected surprise in 12.5 to see that there were now up to five frames of support. I never thought I’d need that much, but now I can take noise reduction the extra mile if I have to. On all my testings it behaved pretty much exactly the same, just better. Of course, the more frames you use, the more laborious it will be on your system, but that’s a fair trade off in my opinion.
The really exciting addition to the noise reduction, for me, is the spatial improvements. At first glance, there is nothing different. The layout pretty much looks exactly the same. Upon using it, though, you quickly find out that they have greatly refined the algorithm. In the past I would barely use spatial noise reduction. If I did, I would rarely take it pass 5. But with this newly overhauled algorithm I pushed it to the 20-25 range and was able to get some great results. Normally the image would just smear and look very blocky. Pretty much unusable in my opinion. But now I’m able to maintain detail where I want to and smooth out the areas that are noisy. Overall a drastic improvement to the noise reduction tab that will make me happy when I need to dig into those shadows and pull out some detail while avoiding noise.
RESOLVE FX
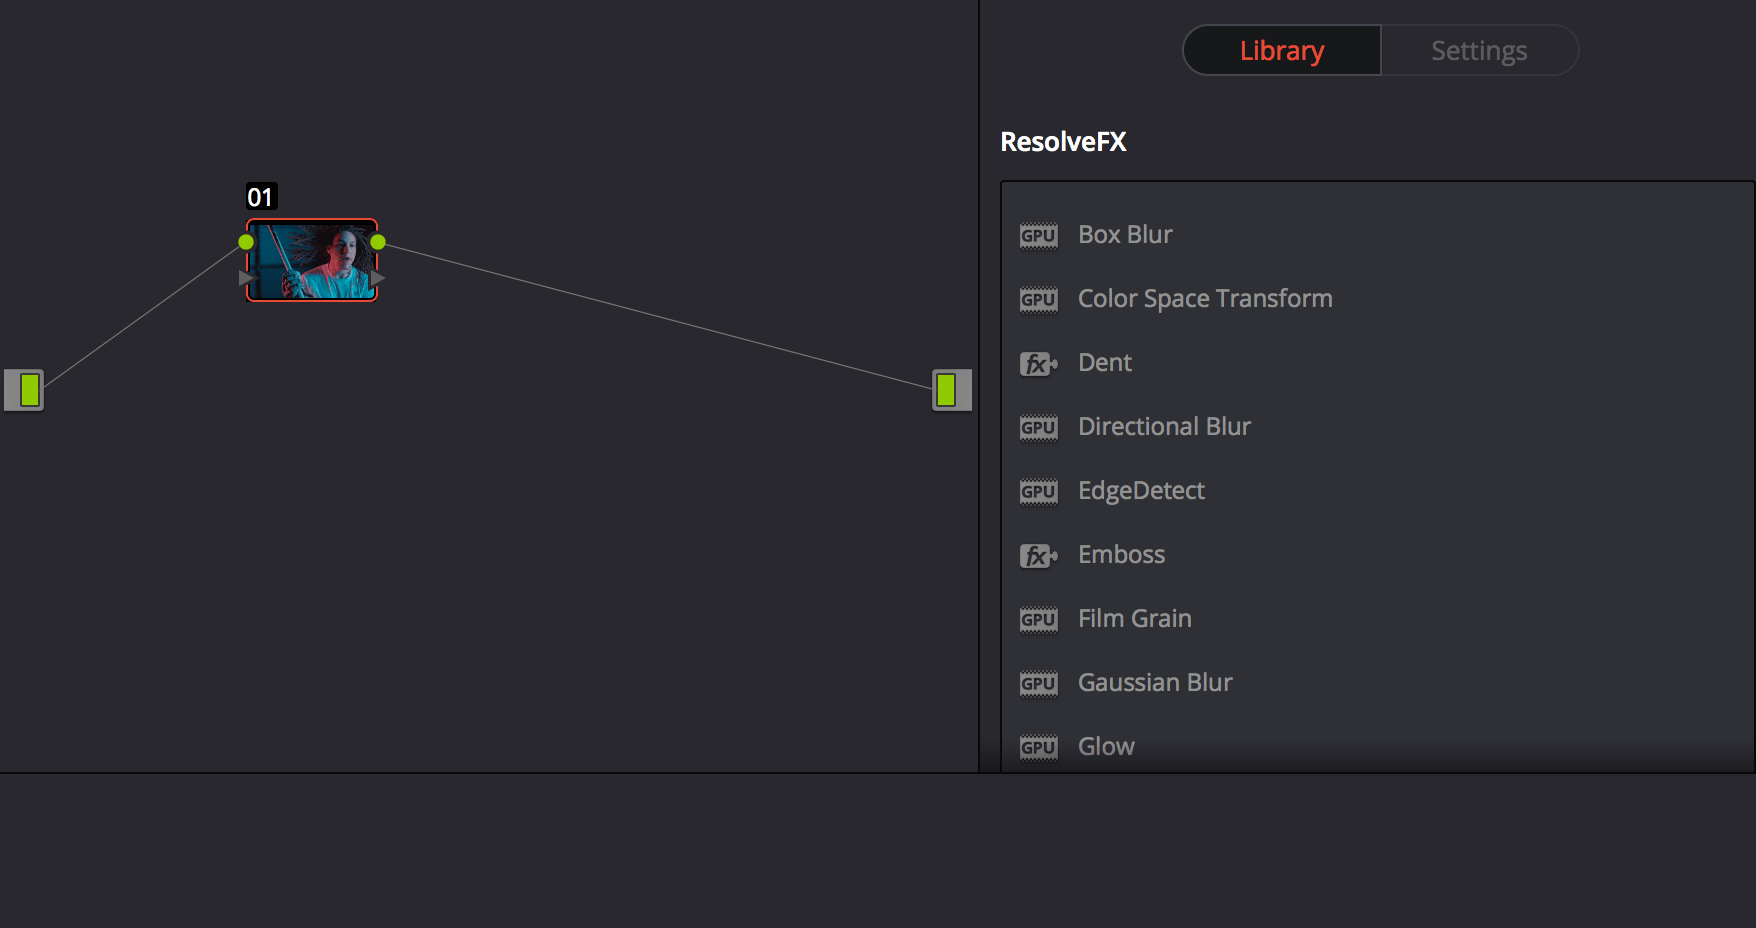
I have used Saphire plug ins for the OpenFX tab in the past to great success. I really enjoy their product. Now Resolve is offering similar tools that can help me push the image even further. While this is borderline visual effects, I think it’s important that we recognize that the line is being blurred. I’m being asked to composite skies more frequently, do beauty work, and clean up unwanted artifacts that would normally be the job of a vfx artist. Now I’m not trying to replace or take away any of that work. I know I’m not a flame/nuke operator. I’m just trying to deliver the best image that I can, while appeasing my clients’ requests. My favorites that I have tried so far are Light Rays, Lens Flare, and Lens Blur. Film Grain is also quite solid, too, but I have become pretty accustomed to Gorilla Grain. So the verdict is still out on that one. Whether I end up using these a lot, or hardly at all, it’s nice to know that I have these in my back pocket as a creative tool that I can use if I need to.
FX POINT TRACKER
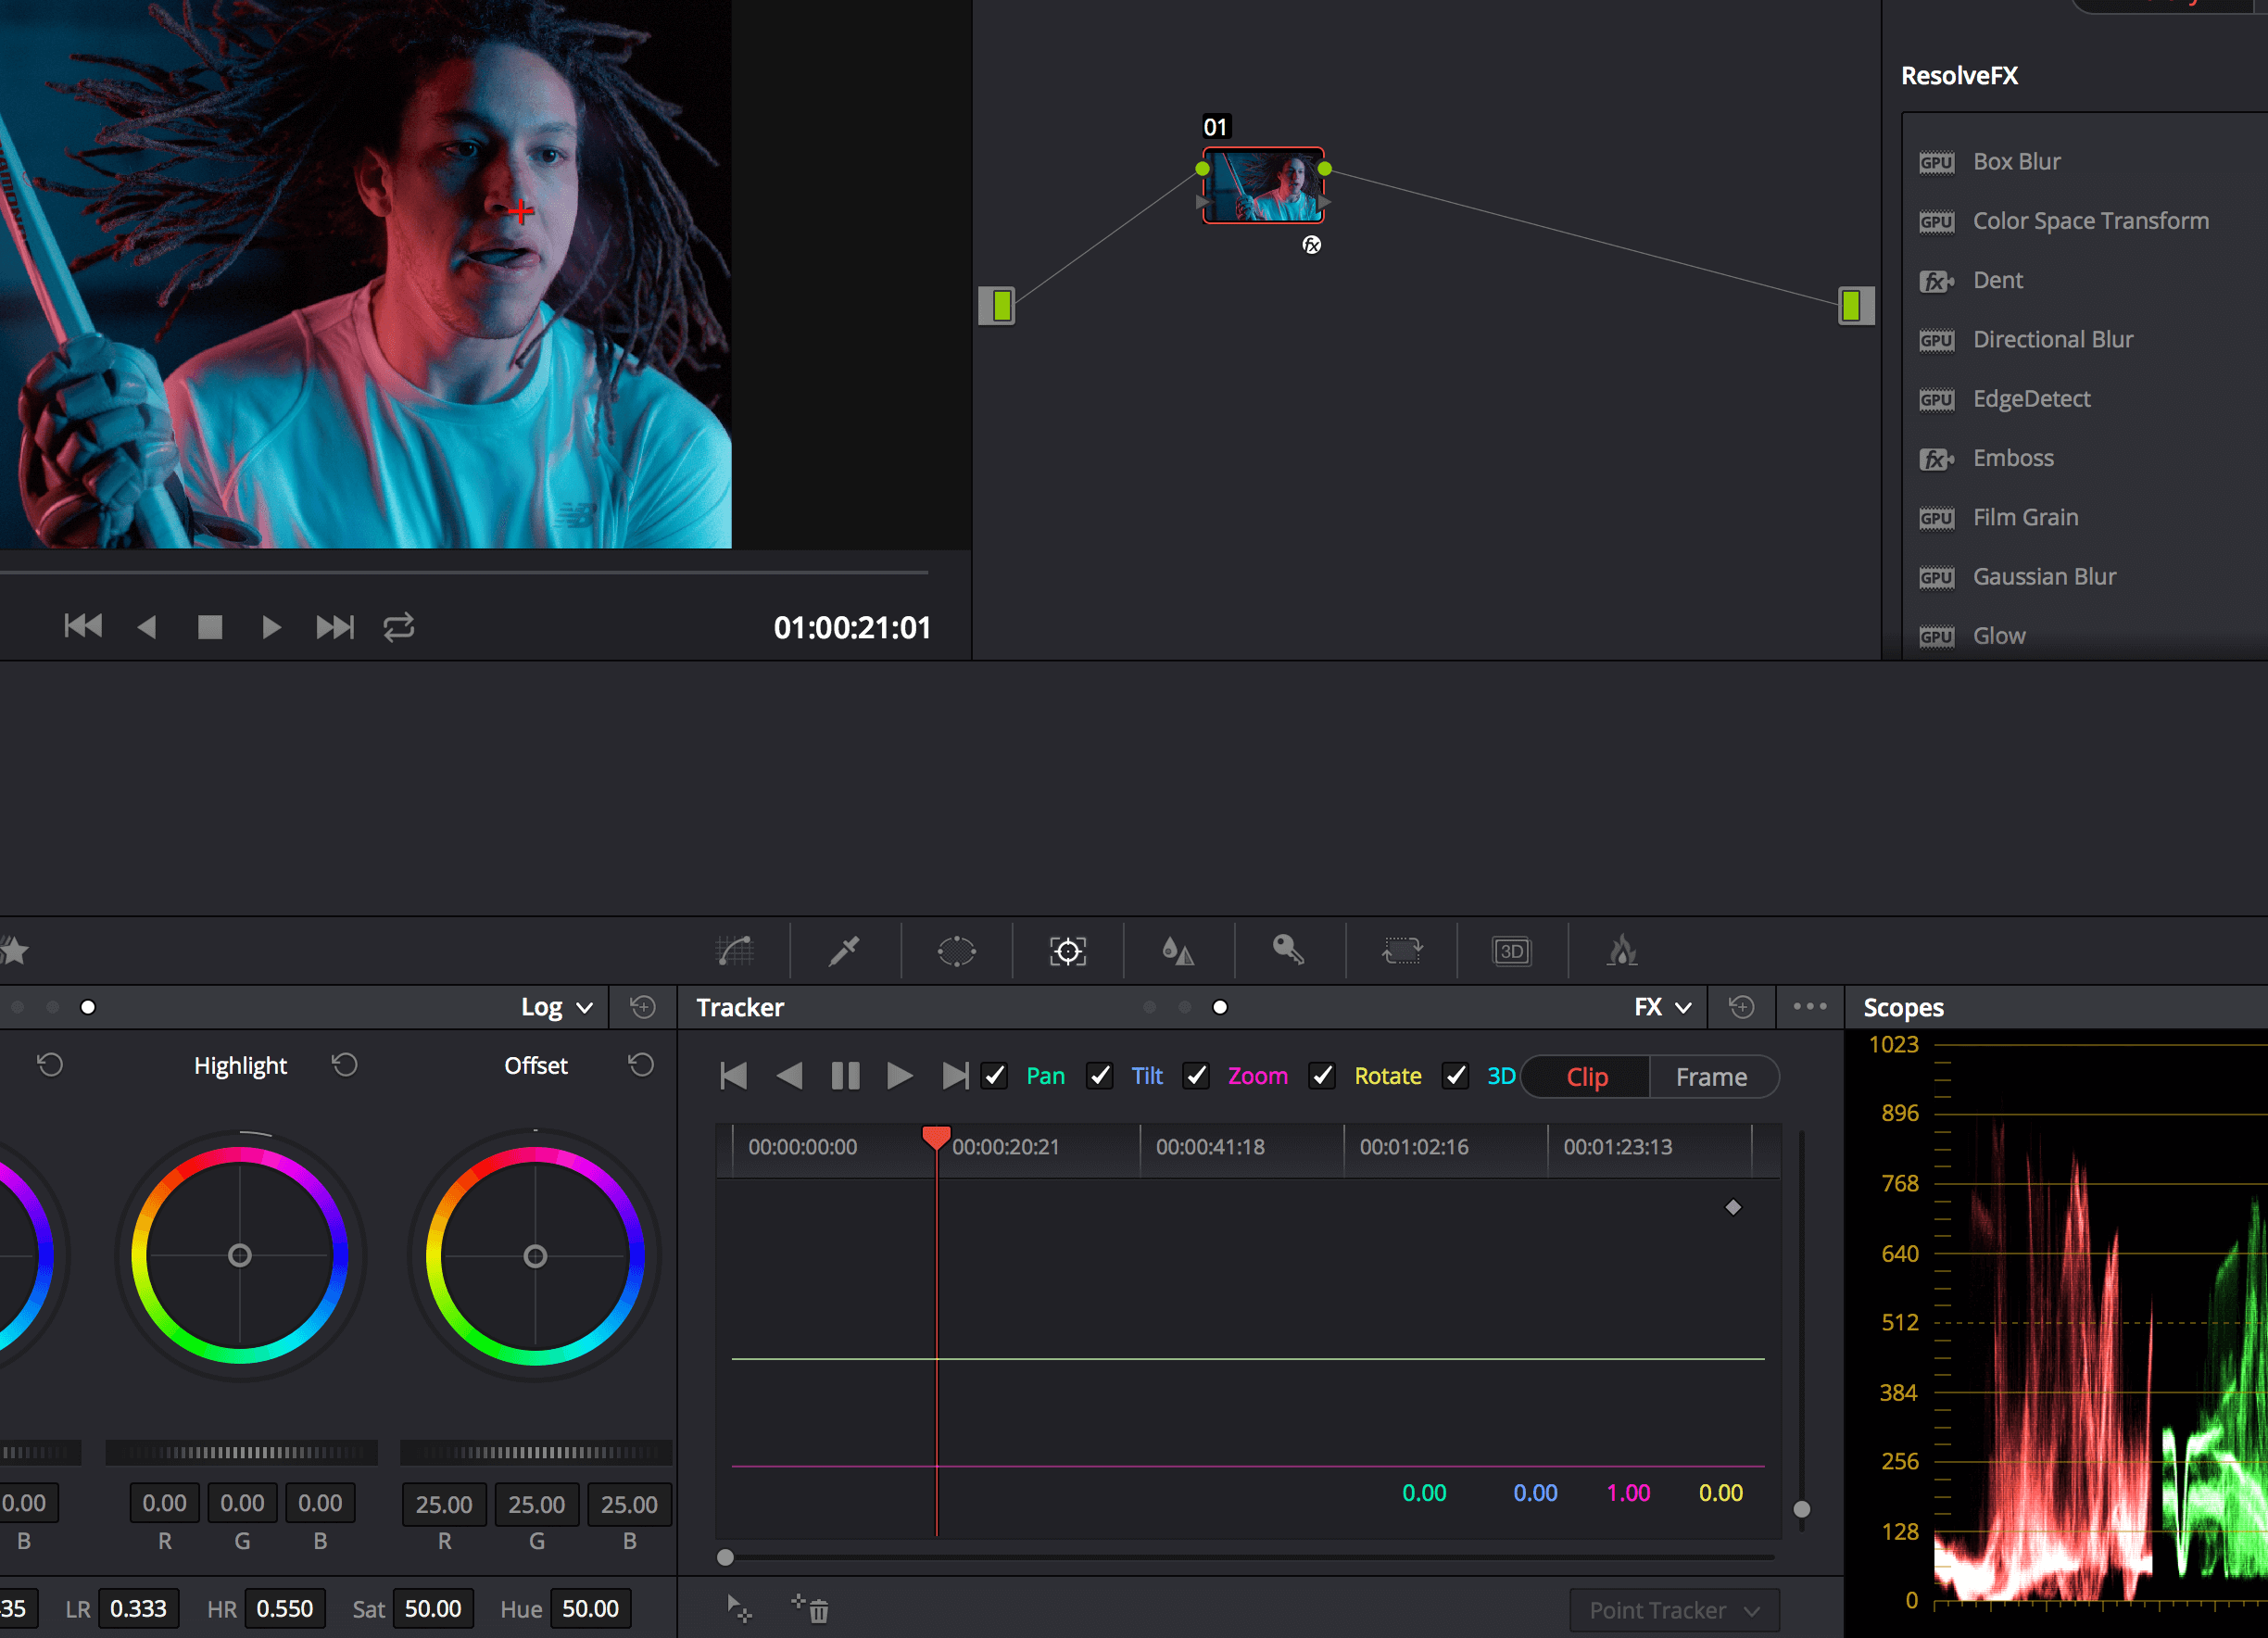
In tandem with ResolveFX the new FX point tracker has been working great. It allows you to place an element into the image and make it seem as though it’s actually there. It feels pretty natural and although the interface can sometimes be a little clunky, it does quite a good job. It’s going to be great for flares on headlights, artificially creating a sun, or making sure that light falls the way it’s supposed to in a given environment. The concept is pretty straightforward, add a point and choose the location that you want to track it to. Couldn’t be simpler, really. I have only added either one or two points at this time, but you can do more if you need to. My assumption is that the more points you grab, the less effective it will be. Best to keep it simple.
Another place where I have seen the point tracker really shine is when stabilizing shots. Instead of using cloud tracking, you can now choose the exact areas that you want to use as a reference point for stabilization. From my testing, if the points are on similar planes, it does a very good job. I don’t do a ton of stabilization, but I’m definitely going to use this one the next time the opportunity presents itself.
TEMP / TINT CONTROLS

At first I didn’t think this addition was that big of a deal and it was pretty much just a feature added to appease photographers who requested it. But the more I played with it, the more I liked it. I could easily make a shot warmer/cooler (Temp) or more green/magenta (Tint) with the LGG controls, but it was not nearly as fast as just turning the knob one way or the other. I don’t really foresee using this as part of my normal workflow, but as more of an experimental technique. By having these controls at my fingertips, I feel like I’m more apt to try things that I normally wouldn’t. A big part of color grading is experimenting with looks. And I think this will help me with some brainstorming to get those creative neurons firing.
REDESIGNED LOG CONTROLS
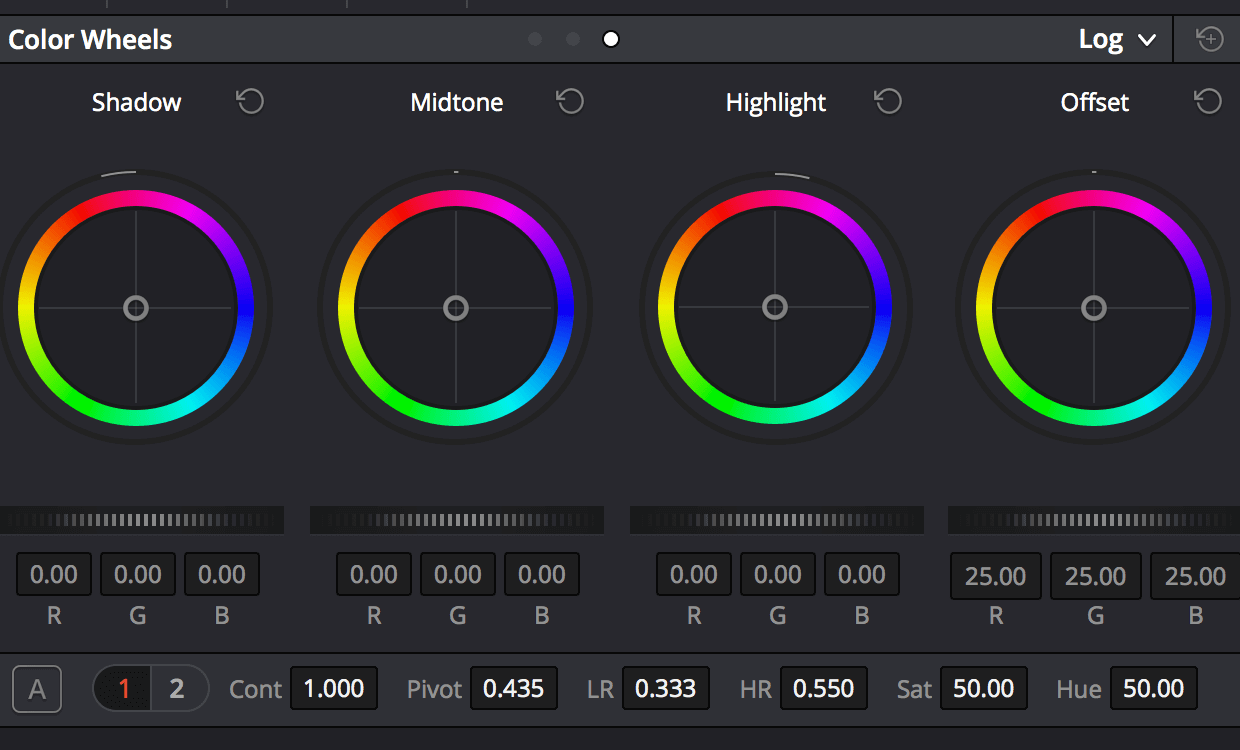
I normally only use log grading for refined tweaks. I find that I end up reaching for them when addressing shadows. Not really sure why, that just seems to be the way I operate. When I’m really trying to hold onto that extra shadow detail, they seem to do the trick. In previous versions I always felt that the log controls were too isolated to their designated region (which technically they’re supposed to be). But the fall off between the regions has now been smoothed out. It feels like there is a better roll off between shadows, midtones, and highlights. Just by looking at the scopes, it’s pretty obvious that is the case. The pivot point and high range point have also had their default starting points tweaked to accommodate for the new controls. I really think this will help me hit that sweet spot between the blacks and midtones much easier.
CONCLUSION
All in all, NAB was a great experience. This was my third time working as a demo artist for Blackmagic, and they continue to impress. Their software development team is fantastic and they work incredibly hard. While on the floor I was asked by a sympathetic customer if I’m just doing it for the money (they felt bad for me because I had lost my voice and had been standing all day). I obviously answered no, but then that made me think a little. I’m taking time away from my wife and kids and time away from my busy work schedule. It’s pretty much a big hassle for everyone in my life when I make the trip to Las Vegas. But what I really get out of the experience is seeing a team work hard to make the software top of the line. I get trained by the people who make the software. Nobody knows it better. I learn something new every trip, even if it is an old feature from a previous releases. In return, they get my feedback and experience as a professional colorist. So when the software is released publicly, I feel like I already know it better than the majority of the population. I have a jump start on the competition and can show off new techniques and tricks I learned while at the show. That head start can help me showcase some new skills to clients that may help me win some more work in the long run. And getting paid for that isn’t too shabby in my book.